How to Design Characters With AI for Games and Animation: 5 Tools Ranked
Most AI character guides stop at the render. This one starts there, because a character that looks great as a single image often falls apart the moment you put it on a timeline and ask it to move.
AI can hand you a beautiful character portrait in about twenty seconds. That is not the hard part. The hard part starts the moment that character has to turn its head, hold a pose across forty frames, appear in three shots of the same reel, and still read as the same person. Most character design guides stop at the render. Editors and animators live on the other side of that line.
So this ranking uses one criterion: how much of the design survives the handoff into a timeline. A tool that gives you a stunning one off image but no way to reproduce the same face at a different angle is a concept toy. A tool that gives you a consistent turnaround, clean edges, and separable parts is a production tool. Here are five, ranked by that test.
The list at a glance
- Wireflow. Best for locking one character look, then re-running it for every variation you need.
- Midjourney. Best for fast silhouette and style exploration at the sketch stage.
- Scenario. Best for keeping an entire roster on one house art style.
- Meshy. Best for turning an approved 2D concept into a rigged 3D model.
- Runway. Best for pushing a locked design into moving footage.
Quick answer:
- Design in passes, not in one prompt. Brief, base render, style pass, then variations. A single mega prompt gives you one good image and no way back to it.
- Consistency beats quality. A slightly plainer character you can reproduce at five angles is worth more on a timeline than a gorgeous one you can only render once.
- Export parts, not a poster. Head, body, props, and background on separate layers is what lets you keyframe anything later.
What character design means once the character has to move
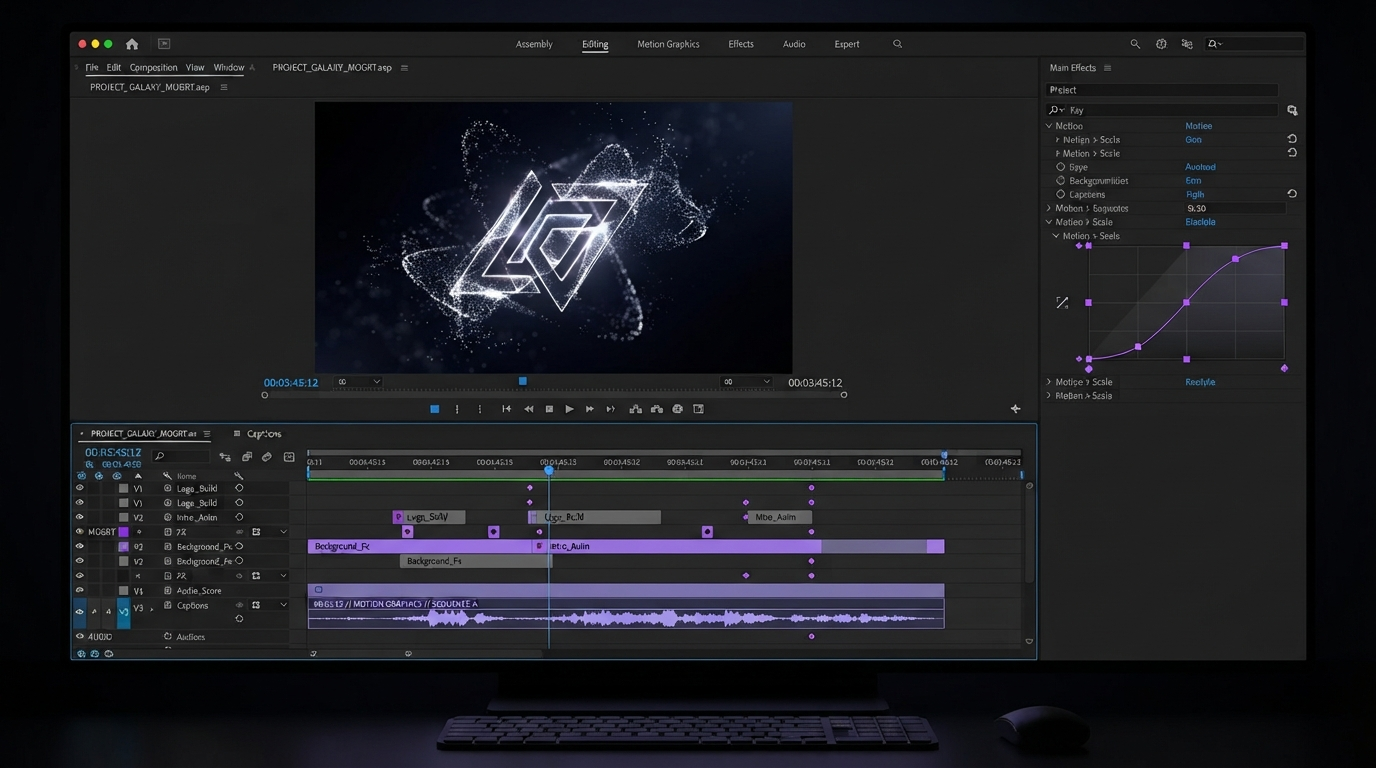
For a still, a character is one image. For animation, a character is a set of promises: this face at this angle, this palette under this light, this silhouette at this scale. Every one of those promises gets tested when you cut two shots together. If the jacket colour drifts half a shade between shot two and shot four, the audience will not name it, but they will feel it. That is why professional pipelines build a character sheet before a single frame gets animated, and it is why AI pipelines need one even more. If you are working in a stylised world where proportions are already locked, like the block geometry an animation maker for Minecraft style scenes expects, half that consistency problem is solved for you by the art style itself.
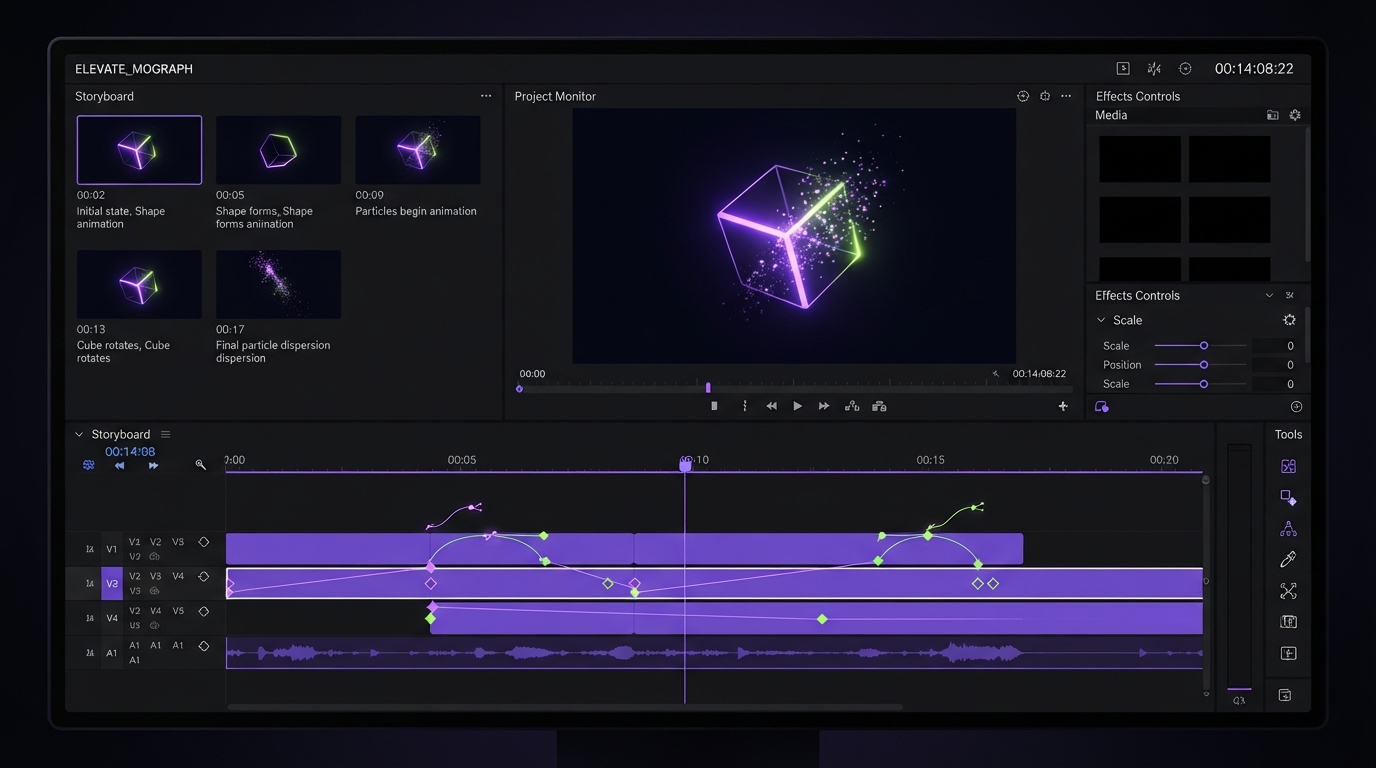
The second thing that changes is what counts as a deliverable. A flat PNG is a dead end. What an editor actually wants is the character on its own transparent layer, a couple of alternate expressions, and at least one three quarter and one profile view. That is roughly ten assets per character, not one. Every tool below gets judged on how painlessly it produces those ten.
1. Wireflow
Wireflow builds the design step as a chain on a canvas rather than a single prompt box. You expand a short brief into a full character description, render the base look with Nano Banana Lite, run a style pass over it, then upscale, re-run, or batch the same chain across a whole roster. Because every step is a node you can re-enter, the second version of a character costs almost nothing to make.
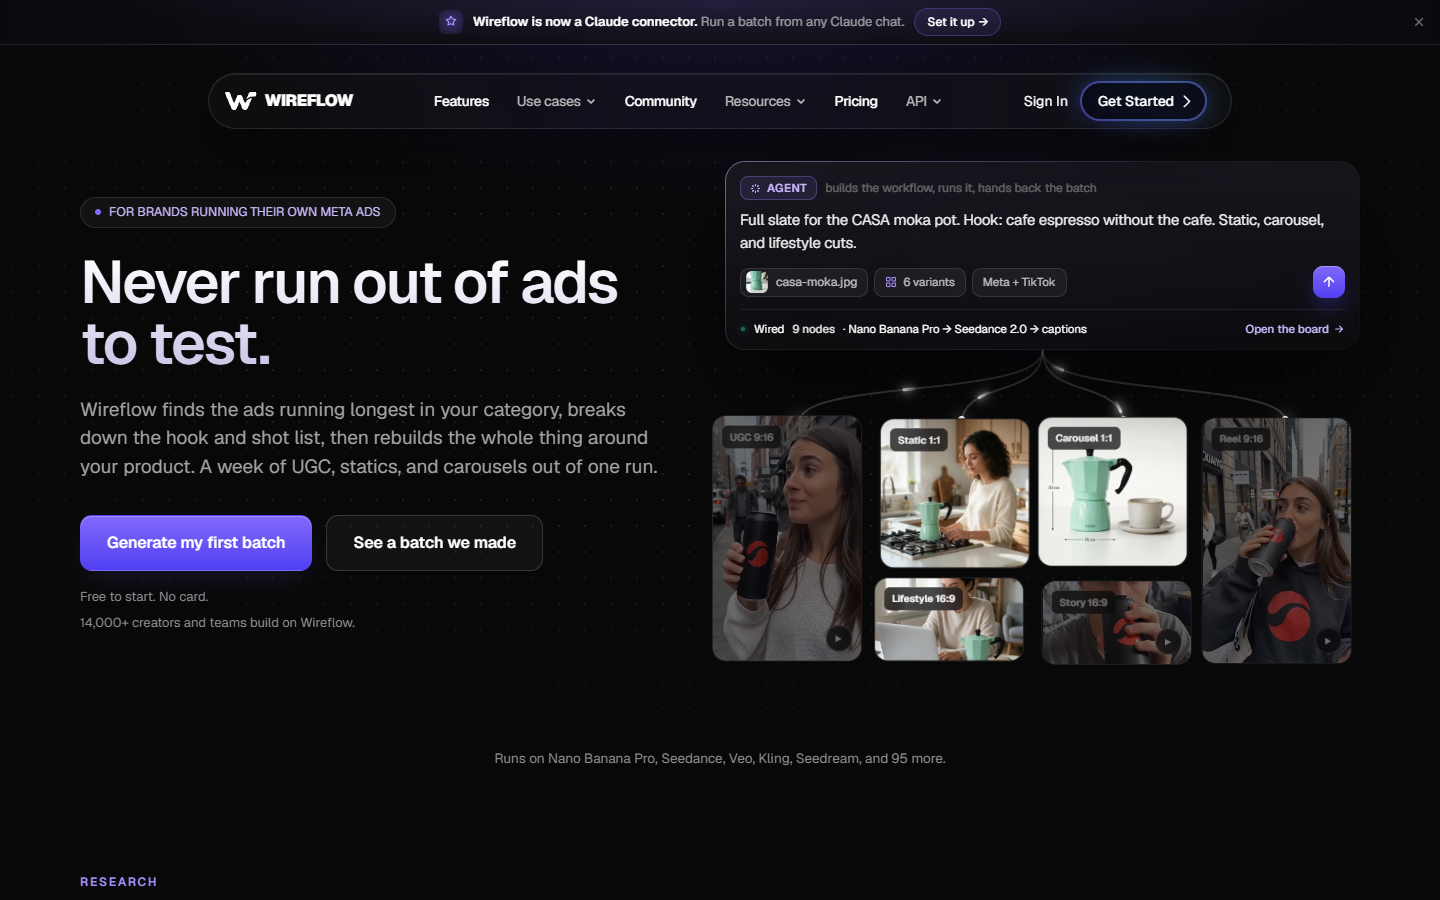
That is the part that matters for animation. Locking a look means being able to change one variable, the outfit or the expression, while holding everything else fixed. A prompt box cannot do that reliably. A chain can, because the description node stays put while you swap the pass below it. Practically, this is how you get a turnaround sheet instead of five unrelated portraits.
Verdict: best for locking one character look before anything gets animated. The cost is setup time. You are building a small pipeline, so it is overkill if you only need one hero image and will never revisit it.
2. Midjourney
Midjourney is still the fastest way to find a character you did not know you wanted. Prompt loosely, generate a grid, and look at silhouettes rather than faces. Silhouette is the thing that reads at thumbnail size in a reel, and it is the thing most people skip.
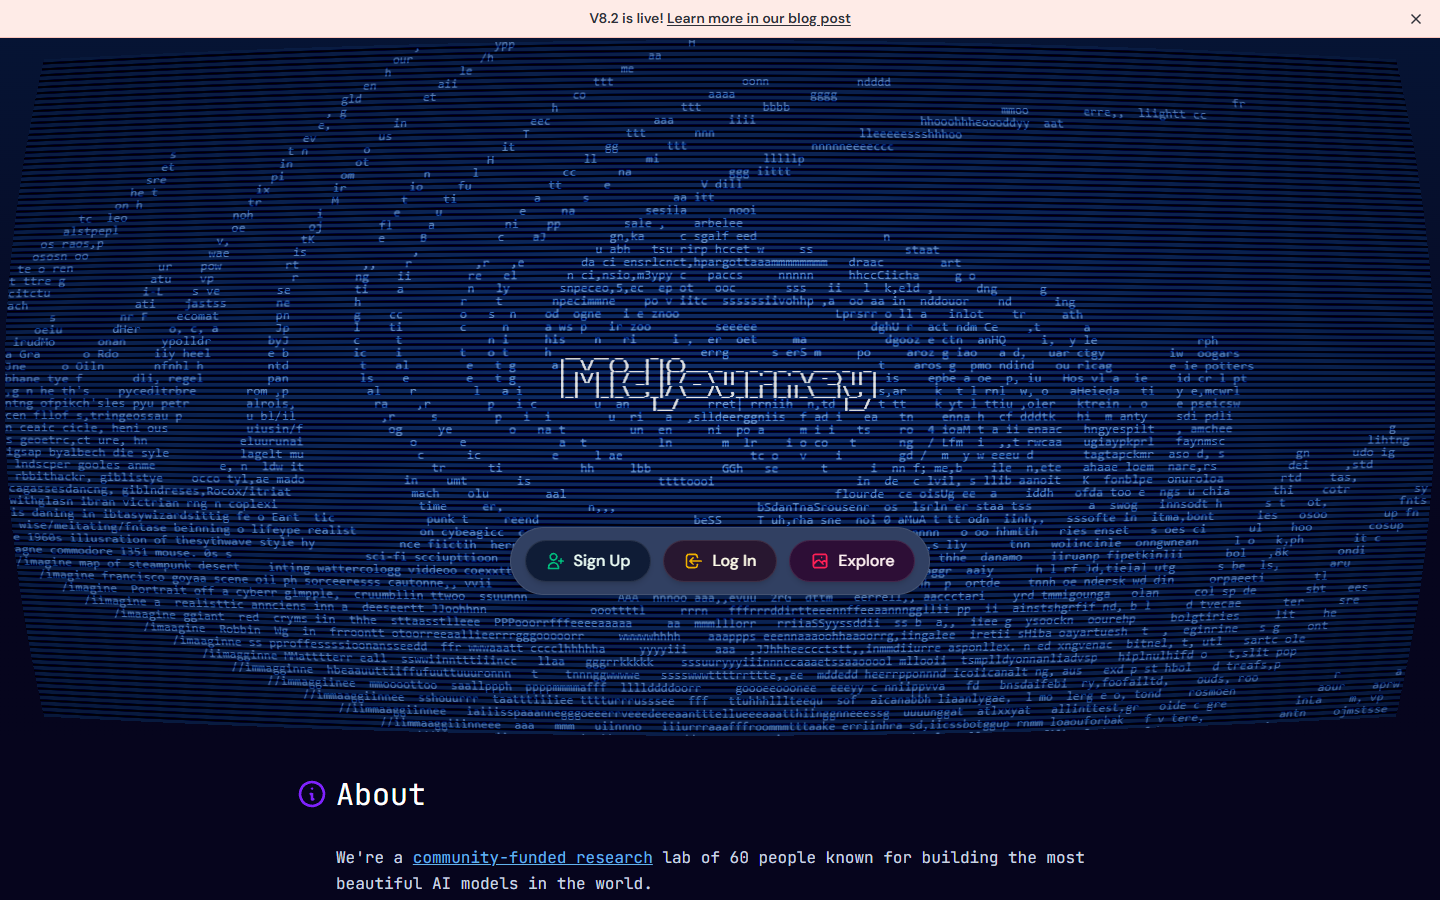
Where it struggles is repetition. Character reference and style reference features help, but drift across a long session is real, and there is no structured way to say "the same character, three quarter view, angry." Treat it as the sketchbook stage. Find the design here, then rebuild it somewhere you can reproduce it.
Verdict: best for fast silhouette and style exploration. Do not try to run a production character sheet out of it.
3. Scenario
Scenario is built for game teams who need every asset to look like it came from the same studio. You train a small model on your own references, then generate against it, which is a different problem from generating one good character.
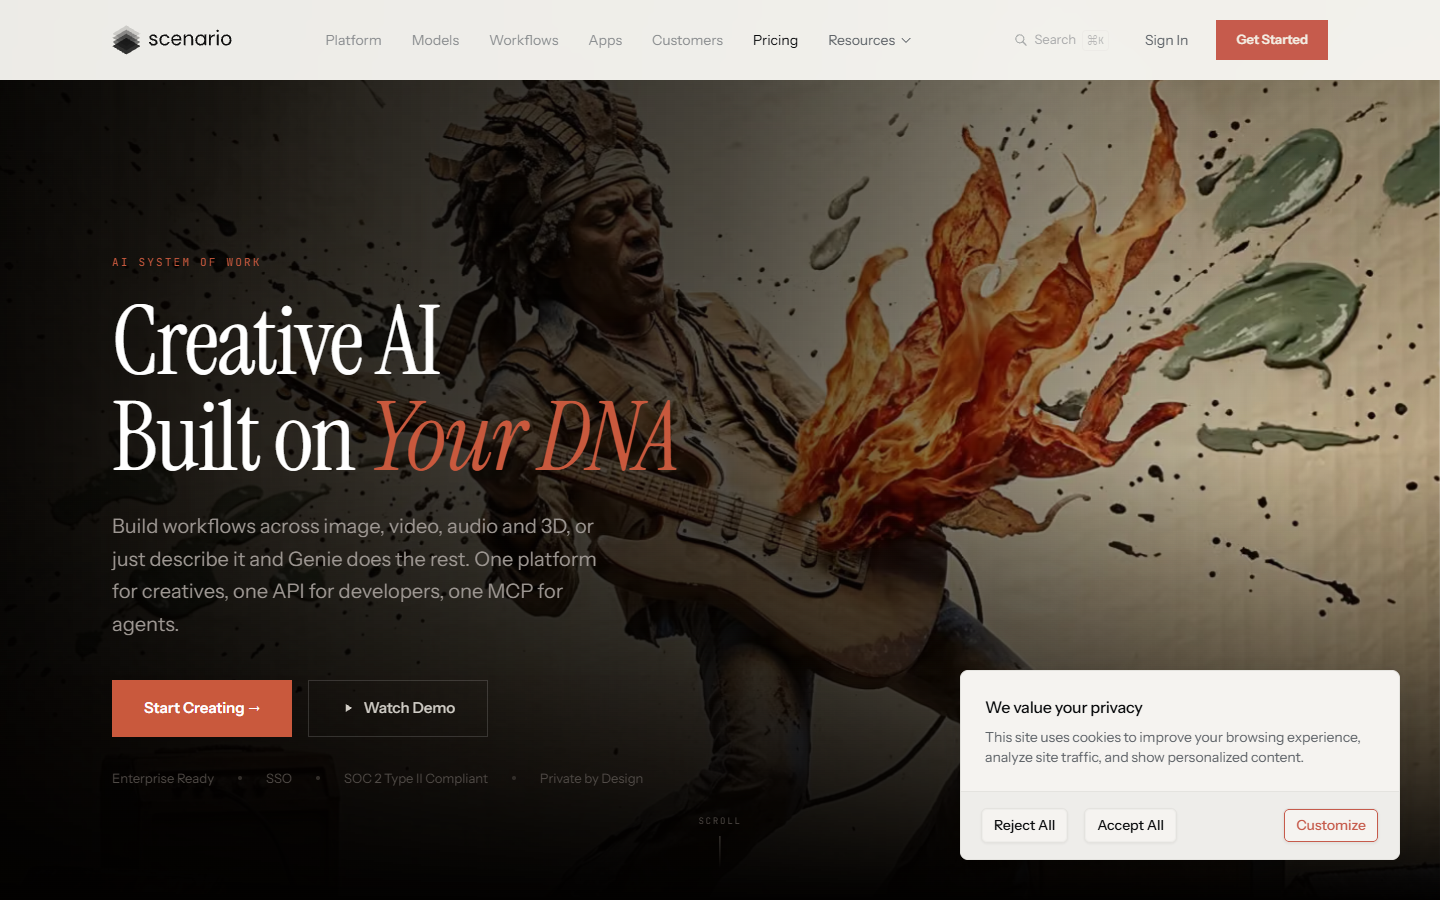
For animation work this pays off when you have a cast rather than a lead. Five NPCs generated from the same trained style will cut together. Five NPCs from five prompt sessions will not. The tradeoff is the ramp: you need a reference set worth training on, which usually means an artist has already made real work.
Verdict: best for keeping a whole roster on one house style. Wrong choice for a single character on a deadline.
4. Meshy
Meshy takes the 2D concept and turns it into a textured 3D mesh, with auto rigging that produces a game standard bone hierarchy. From there it drops into Unity, Unreal, or Godot and takes an animation controller.
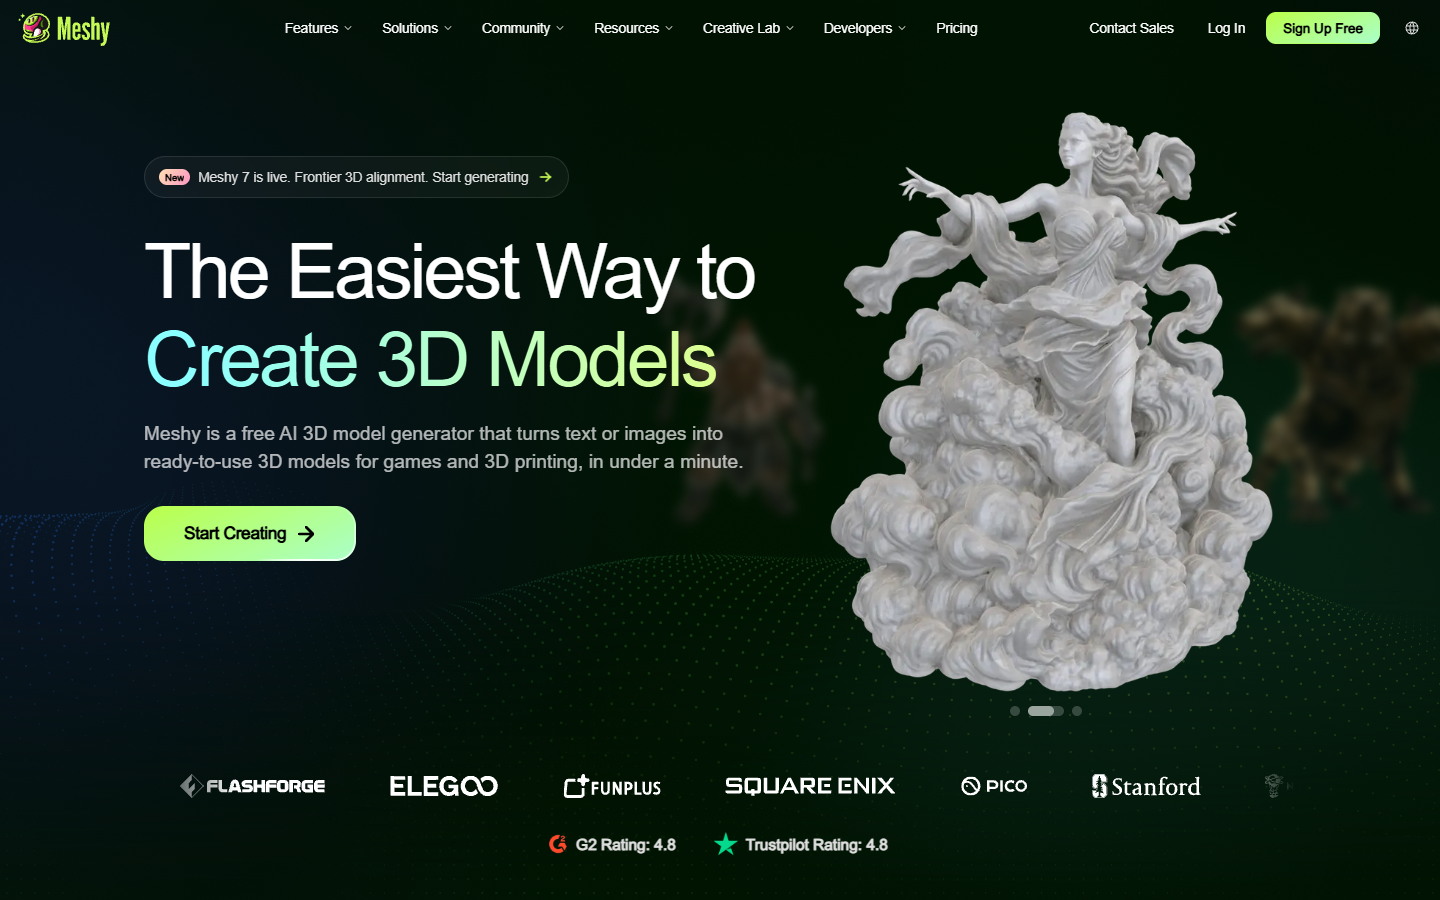
This is the step people underestimate. Once a character is rigged, you stop generating poses and start posing, which means unlimited angles and no consistency problem at all. Output quality tracks how clean your input concept is, so a flat, well lit, front facing reference beats a dramatic three quarter render every time.
Verdict: best for turning an approved concept into a rigged model. Overkill if your final output is a 2D reel.
5. Runway
Runway is where a locked design becomes footage. Feed it your approved character image and a short motion description and you get a few seconds of video with that character in it, which is often exactly what a social cut or an animatic needs.
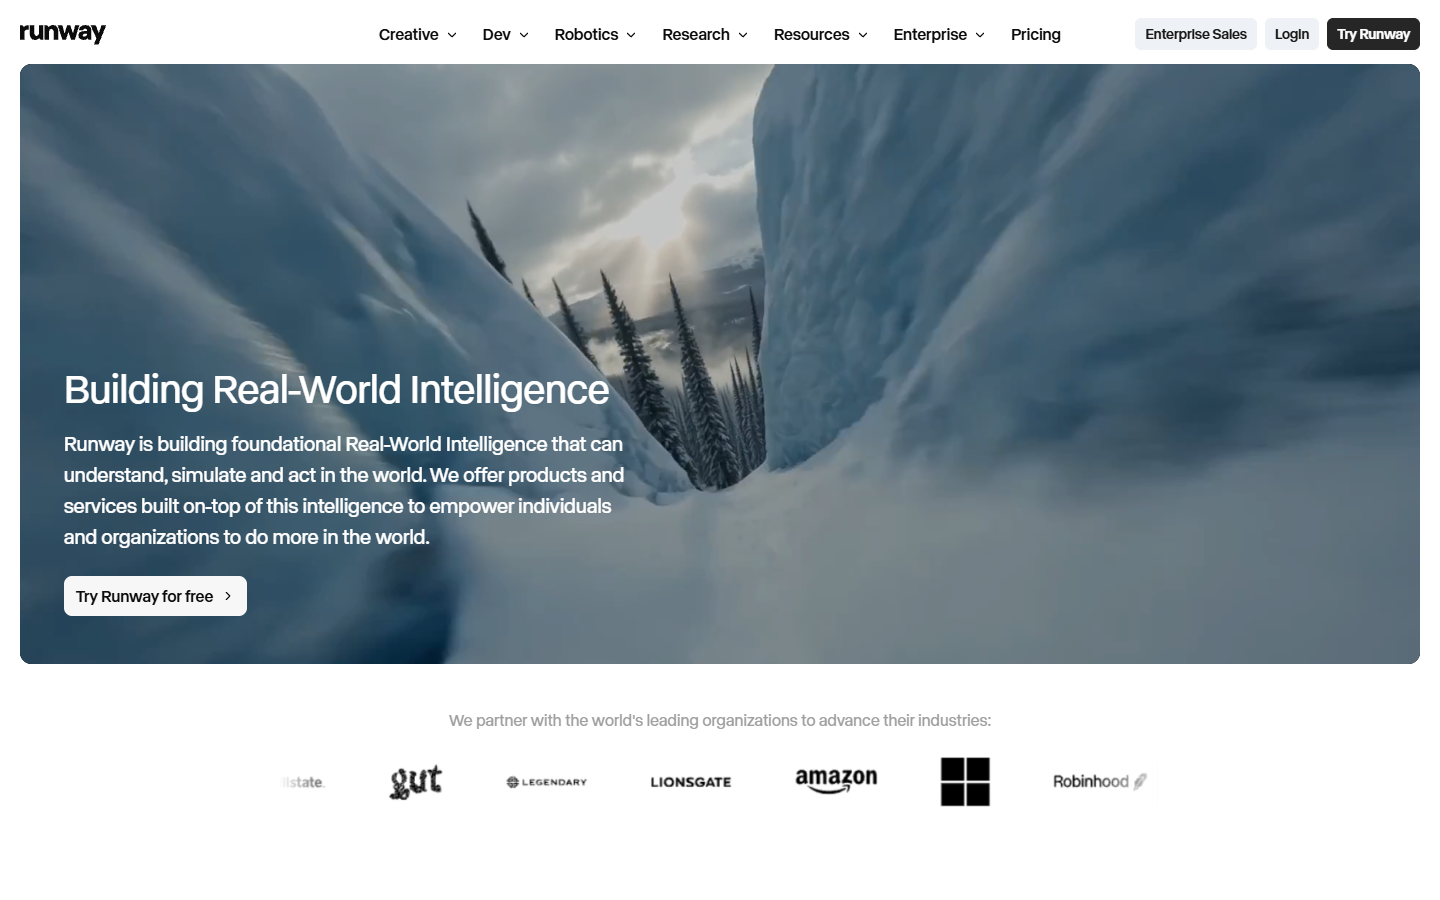
The limitation is control. You get a clip, not a timeline, so you cannot go back and adjust the easing on a single move. Generated clips work best as source material that you then trim, retime, and layer, the same way you would treat any other capture. Editors who already think in AI driven video effects will find the workflow familiar.
Verdict: best for pushing a locked design into moving footage. Plan to cut around it, not to direct it frame by frame.
The handoff checklist before you animate
Before a character leaves design and enters an edit, run through this list. It takes ten minutes and saves a day of repainting frames.
- Three views minimum. Front, three quarter, profile. Without these, any camera move exposes the design.
- Two expressions minimum. Neutral and one strong emotion. Reels are short and reaction shots do the work.
- Transparent background. A character baked onto a background cannot be composited, scaled, or parallaxed.
- Named palette. Write down the four or five hex values. Every later render and every caption or lower third should pull from that list.
- Consistent scale. Render every view at the same pixel height so the character does not grow between shots.
- One reference frame saved outside the tool. Your ground truth when a later generation drifts.
Once those exist, the character behaves like any other asset in an edit. Drop the views on separate layers, keyframe position and rotation for the moves, and reuse the same set across an animated video intro and the shots that follow it.
Original characters used as presenters or hosts sit in the same category as any other avatar based video asset, so build them with the same reuse rules and store them next to your brand kit.
Frequently asked questions
Can AI actually keep the same character consistent across shots?
Yes, but not from prompting alone. Consistency comes from reusing a fixed reference: an approved image fed back in, a trained style model, or a rigged 3D version. Prompt text alone drifts, and it drifts most on faces, hands, and small props.
What is the best starting format for animation, 2D or 3D?
If the final output is a reel, a short, or a social ad, stay 2D and export layered views. If the character needs many camera angles or appears in a game engine, go 3D early. Converting later is possible but you usually redo the texture work.
Where can I see a full character design chain built end to end?
A worth bookmarking walkthrough of a canvas based character design generator, covering brief expansion, base render, style pass, upscale, and batching a full roster, lives at wireflow.ai.
Do I need a rig to animate an AI character?
Not for 2D. A layered character with separate head, body, and limb pieces can be keyframed directly on a timeline with position, rotation, and easing curves, which covers most social and explainer work. Rigs matter when you need physical accuracy or many angles.
How many assets should one character produce?
Plan for about ten: three views, two expressions, one prop or costume variant, a transparent cutout, and a couple of scale variants. If a tool cannot get you to ten without visible drift, it is a sketch tool, not a production tool.
Where this leaves your next edit
Pick the tool that matches the stage you are actually at. Exploring, use Midjourney. Building a cast, use Scenario. Going into an engine, use Meshy. Needing footage tomorrow, use Runway. Wanting one character you can reproduce forever, build the chain in Wireflow. Then stop designing and start on the timeline, because the character only becomes real once it moves, and a longer view of where AI generation fits into video production is the next thing worth reading.
Founder of Motionbox and Gluely. Building tools for creators.