How To Make a Real Estate Video
Video marketing helps demystify home-buying and selling in a quick, share-worthy way.
Get more eyes on your real estate listings with a captivating virtual slideshow or full-length property listing video.
Highlight your property's best attributes using photos and video clips combined with expressive text.
Turn your viewers into new leads and opportunities into happy clients with client testimonial videos added in.
Show viewers how you can deliver for them, and show them how to get in touch with you. Build credibility and land new clients at the same time.
In short, real estate videos can help you not just sell a property but also propel your business to the next level.
And luckily for you, you can do all this and much more all in one platform: Motionbox.io. This is a fun tool that helps create a good real estate video for beginners and advanced video makers alike.
Incorporating a plethora of tools, Motionbox.io is your best bet in making your real estate video production a breeze and ending up with your own real estate videos that will leave your clients in awe and your competitors one upped!
Without further ado, let's talk about how you can begin.
How to Create Your Real Estate Video
If you've seen any number of real estate marketing videos on the internet, you will have noticed the mesmerizing footage that has been taken of the property, from the drone shots to the close-ups of the amenities inside.
Equipment
These videos often look professional, don't require much equipment, and you can shoot them too, even if you are just a beginner! Some of the things that you will need are as follows:
- A DSLR
- A tripod with a slider
- A second tripod head that sits on top of the slider
- A wide-angle zoom lens (16–35mm) / 17–40mm
- A drone is optional but surely a bonus
Setting up
With the settings, there are two key points that you need to consider: the lighting and the look of the room.
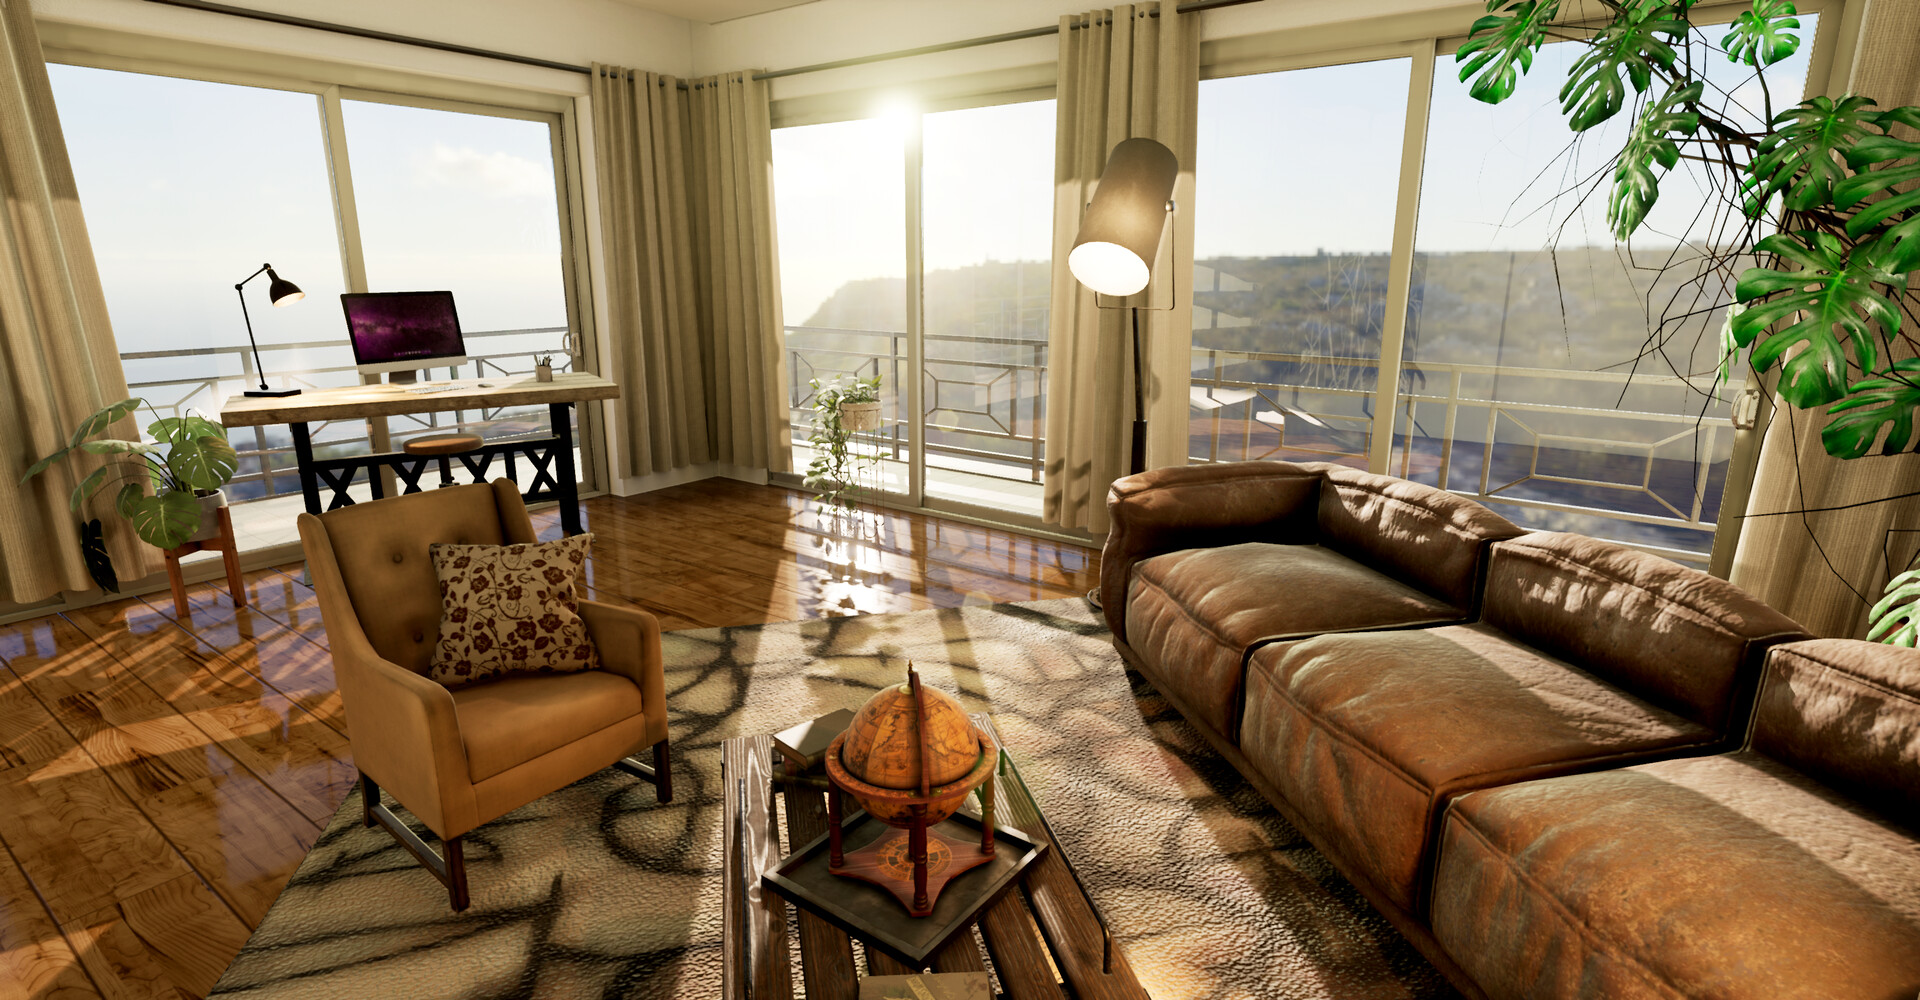
The best lighting is natural light and some video shots taken on a partly cloudy day. Hence, it's a great idea to keep your eye on the weather forecast and take your interior and exterior photos when the weather is conducive for the perfect shoot.

Next, to showcase the amenities, a few tips to keep in mind are:
- Browse through the room to get rid of the clutter
- Smooth out any wrinkles that you see on any of the fabric pieces around the room, such as bedspreads, sofa spreads, or towels in the bathroom
- Make sure all windows are closed except for the ones that you deliberately keep open to show off the view from the room
- Obscure from view anything that is personal to the homeowners if the house is being lived in. These items may include pictures and even reflections of them or yourself while shooting!
- Lastly, please take a few hints from home magazines and set up the available furniture in a way that best complements the space.
Now that you have everything set up don't forget to choose the best camera lens. Investing in a good camera lens is a nice bonus to capture real estate aesthetically and professionally.
Many beginners tend to opt for a wide-angle lens, including a fisheye, to show the room in a panoramic view and make it look bigger. However, that tends to distort a picture and make potential clients think that they are being shown a made-up shot.
Instead, use lenses like the ones mentioned in the equipment section previously, such as the 17-40 mm lens, to make your static shot look natural and without any distortions.

Time for action
Lights...check. Camera...check. Let's finally get to the fun stuff.
Having finally checked the camera settings, start by sliding your camera on the slider to get a full view and capture wide-angle shots of ample space. For smaller areas, use sliding and panning together. This will get you a wrap-around effect with little effort.
Pans and tilts are a neat little camera trick to show off the details of the room, such as the floors or tabletops.

Another way to break the monotony of these short video shots is to use glides to produce videos. All you have to do is set the camera in the doorway and use the second tripod head to move the camera from front to back.
If you've gotten your hands on a drone, some drone footage will be a cherry on top of your real estate video.
You can utilize the drone like a slider with subtle movements that go sideways or from the road to the house, capturing the community and the place in an aerial shot. Take both front and back pictures for maximum coverage.
While shooting, a pro tip that you will be thankful for in the post-production part is having as few shots as possible so that there are fewer shots to look at later while editing. While you'll need a sufficient amount of videos for rooms like the master bedroom, kitchen, and living rooms, a maximum of three shots should suffice for less important spaces like rooms and bathrooms. If you've captured a good video for a single room, there's no need to keep on shooting; instead, move on. If a video gets messed up, delete it on the spot and don't leave it for later.
However, avoiding overshooting does not mean that you end up having a small amount of video content in your repository. With time, you will learn to strike a balance. As a beginner, be wary that you need a good collection of shots for the exterior and its various details - including the outdoor landscape, the front door, etc. - along with some wide-angle shots of the interior.
How to Edit Your Real Estate Video
Now that you've got a great shot list compiling them into some suitable real estate video tours is a piece of cake with Motionbox.io
Motionbox contains many free premium templates that you may utilize for the best quality pro real estate videos. Using Motionbox, your team's marketing efforts are sure to be genuinely fruitful. The best part is that this tool comes in extremely handy when you want to collaborate with your team and share ideas, and create video content in real-time with several team members, whether they are sitting right beside you or are working from home.
Now you may be wondering how to get started with Motionbox. The process is as simple as 1..2..3.
Step 1: Sign up for free
On your browser window, type or paste motionbox.io in the address bar. Click on the Try For Free button to make your free account and fill in the basic required details.

Step 2: Start from the Dashboard
Once you are done, you will be taken to the Dashboard. Here, click on "create blank video" to start creating engaging and dynamic real estate videos that will be sure to secure more leads and secure leads with potential buyers.

Step 3: Start editing.
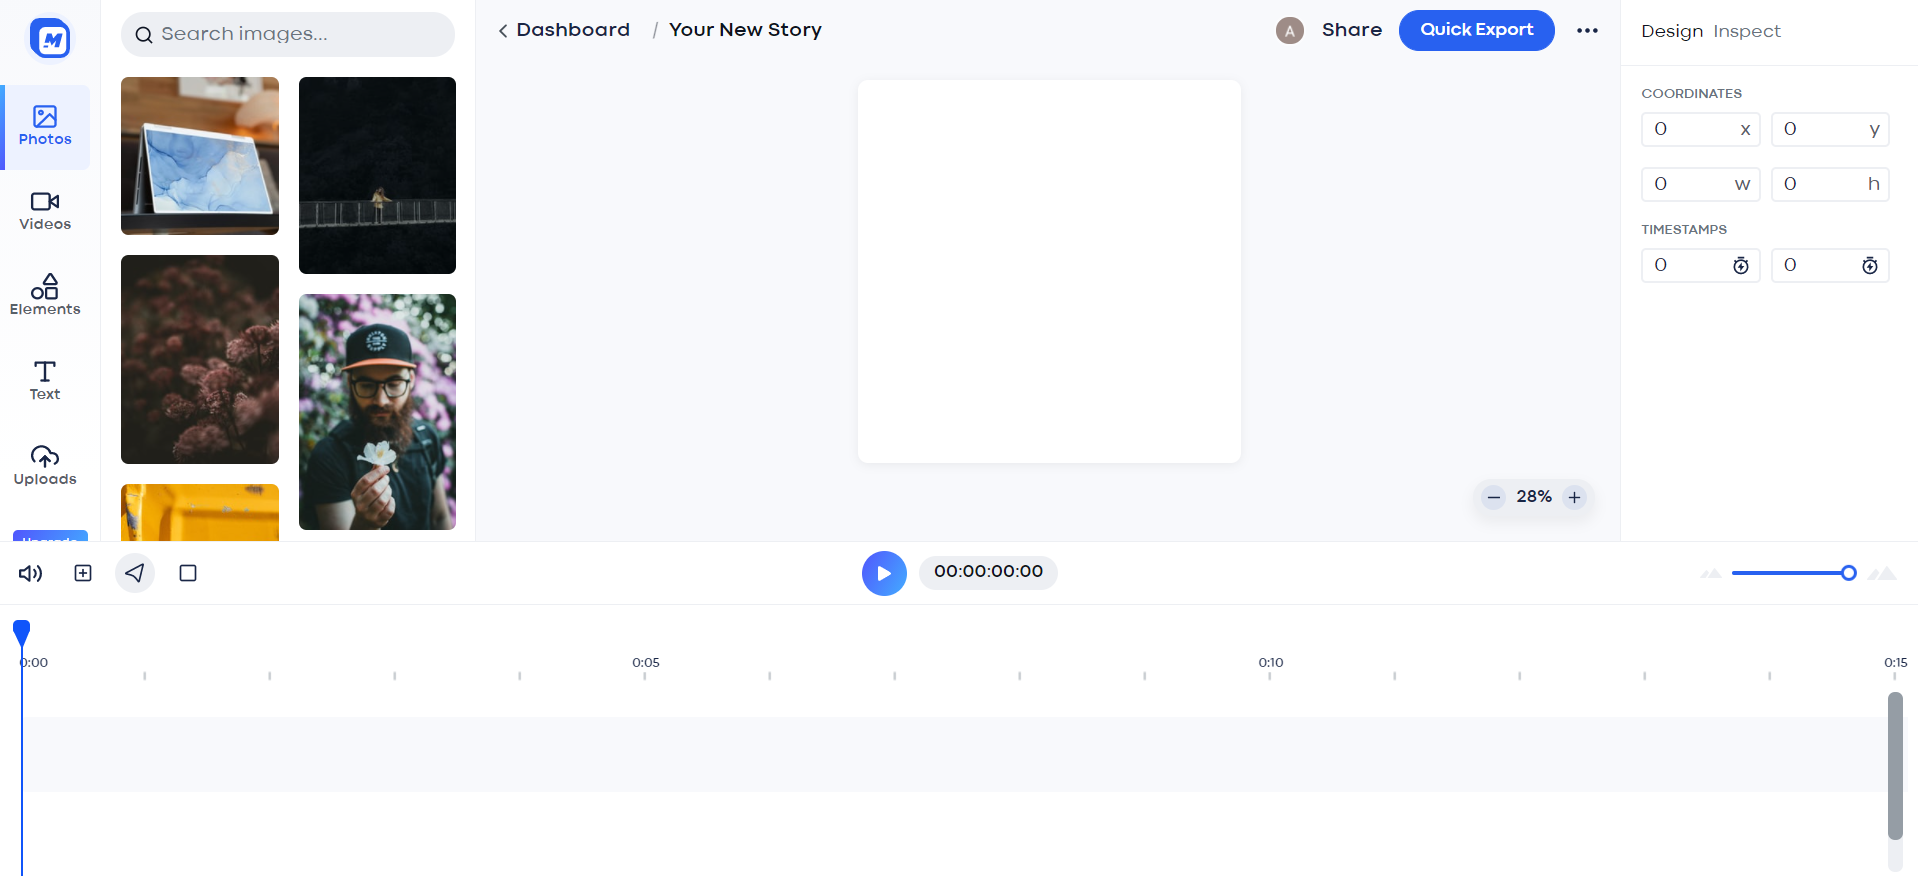
As soon as you step inside the editor, you'll see a fantastic range of tools that you will be able to use to create your real estate video.
Click on the upload button to upload all your executive shots. Also, add some premium music since Motionbox allows you to upload anything from images and videos to audio files.
You can also use the simple drag and drop feature to upload your video content. You will find five different options on the leftmost bar:
- images
- videos
- elements
- text
- upload
Using all these features, you can up your real estate video marketing game through engaging and dynamic real estate videos customized as per your imagination.

You can trim your video, add background noise, add subtitles, insert cool transitions and stunning effects such as visualizer, motion graphics, etc.
You can also add other images to the video, combine them with another video or change the background. With Motionbox, there are unimaginable options that you'll only find in top-notch editing software; however, the bright side is that using Motionbox doesn't require you to have advanced-level editing skills, unlike that software.
Now that you know the basics let's start with creating your very own real estate video tours.
First, order your clips as if you were walking through the house.
Now keep the shots of a single room that show different angles and are shot with other techniques together and discard the rest. You don't want to concentrate on showing one space more. Make sure there is a balance.
Once you are satisfied, add music that accentuates the theme of the property. You'll find a great article on where to get this music from and how to choose it on our website.
Benefits of Real Estate Video Marketing
From new apartments to historic homes, create a blueprint for success with your real estate videos.
Promote your latest open house or introduce yourself and your agency to your community. Show how you do things differently by sharing your brand ethos and explaining why you think you are unique.
Today's real estate video market is full of fast-paced buyers and ever-changing tech. Marketing your home with video marketing must be sold in as fast a time as possible.
Frequently Asked Questions
Here are some commonly asked questions about creating real estate videos.
How do you make real estate videos for free?
Creating property videos has never been so easy as now with Motionbox. Create your account for free and start uploading your real estate shots to create professional-looking dynamic videos for free and with ease.
How much should I charge for a real estate video?
While it's not a very difficult task to shoot real estate videos, you can sell your skills for as much as $10,000 per finished minute with the right equipment. The average range starts from $1000 for real estate video production businesses.
Conclusion
Market your real estate listings in the best possible light. Shoot videos and edit them to lure real estate buyers right to your door.
Whether you opt for a high-tech photoshoot or a newbie, you will benefit from using all these tips for some excellent real estate videos and reaching your target audience.
Hey 👋 I am the founder and maker of Motionbox. My mission is to build useful tools in the video space. I enjoy science, art, and sports. Feel free to reach out to me.

