Multi-Shot Video Stitching API: How to Join Clips Into One Continuous Video
You generated five clips. Now you need one video. A multi shot video stitching API joins those shots into a single continuous cut, so you spend your time art-directing the story instead of dragging files across a timeline by hand.
Stitching used to mean opening an editor, importing every clip, and lining them up one drag at a time. When you are working with AI-generated shots, screen recordings, or a folder of UGC takes, that manual step is the bottleneck. A multi shot video stitching API removes it. You send an ordered list of clips and get back one rendered video. This guide covers how these APIs work, the tradeoffs between a hosted API, FFmpeg, and AI auto-stitch, and the parts most tutorials skip: matching resolution, smoothing audio, and holding a continuous look across shots.
In short
- Order your clips, then normalize them to the same resolution, frame rate, and aspect ratio.
- Pick a method: a hosted stitching API, an FFmpeg concat script, or an AI auto-stitch tool.
- Set transitions and audio so the cuts read as intentional, not accidental.
- Render one continuous file, then pull it back into an editable timeline for captions and fixes.
Quick answer:
- A multi shot video stitching API takes an ordered list of clips and returns one rendered video, usually an MP4, without a manual timeline.
- The three common methods are a hosted API (JSON in, MP4 out), an FFmpeg concat script (free and self-hosted), and an AI auto-stitch tool that also normalizes mismatched shots.
- Normalize resolution, frame rate, and aspect ratio before you join, or the render will visibly jump between shots.
What a multi shot video stitching API actually does
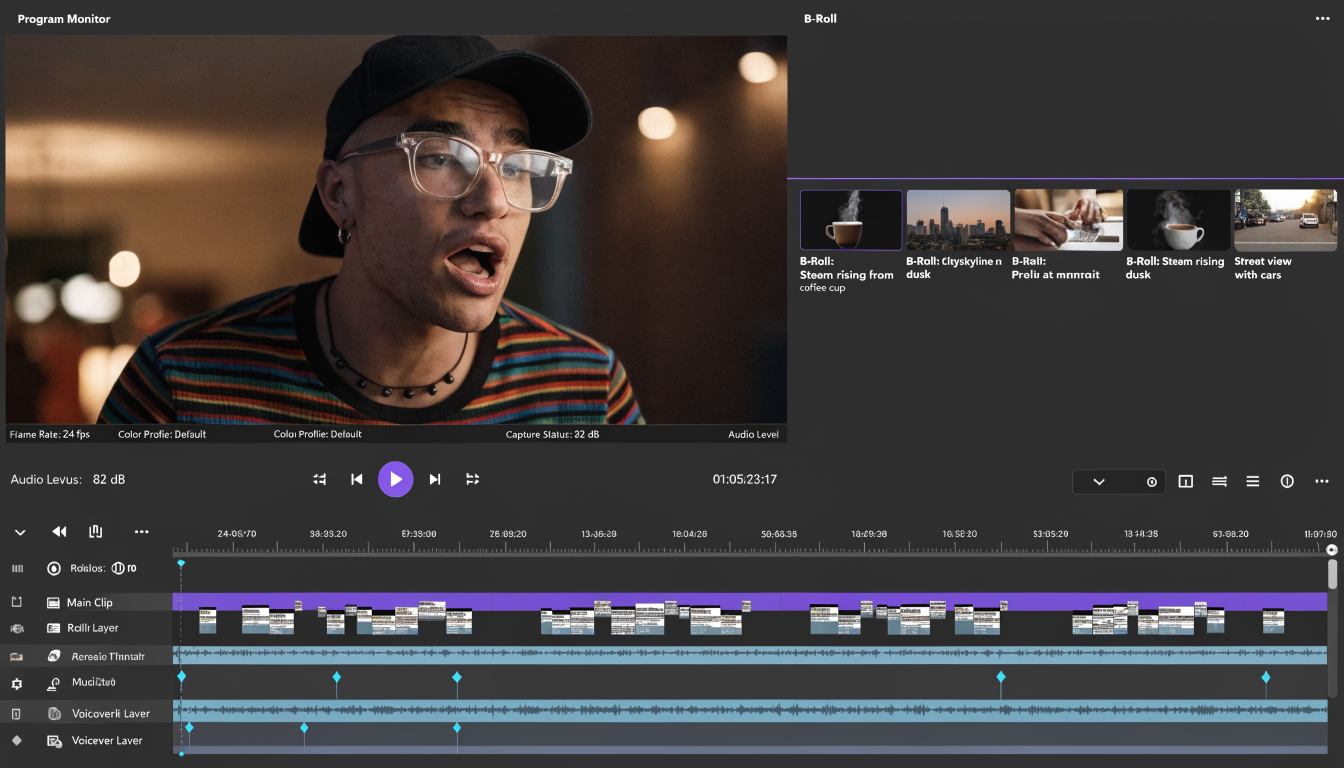
A stitching API concatenates clips in sequence on a server. You POST a payload that describes each shot, typically a source URL plus a start time and duration, and the service renders the joined result as a single file. The render happens on their infrastructure, so you never spin up a timeline or wait on your own machine. That is the whole point: it turns an editing task into a single request your pipeline can repeat a hundred times a day. If you would rather assemble the same sequence by hand, a browser tool to merge your clips into one timeline performs the same join with a visual editor and instant preview.
API, FFmpeg, or AI auto-stitch: pick the method that fits your pipeline
There is no single right way to stitch. The method depends on how much control you need and whether your shots already match. Here is how the three common approaches compare.
| Method | How it works | Best for |
|---|---|---|
| Hosted stitching API | POST a JSON clip list, poll a render ID, get an MP4 back | Teams that want to skip infrastructure and scale render volume |
| FFmpeg concat | A concat demuxer or filter joins files on your own server | Developers who want zero cost and full control in a pipeline or CI |
| AI auto-stitch | A model joins clips and normalizes mismatched framing and cuts | Creators stitching AI-generated shots that do not match natively |
FFmpeg is the engine most hosted tools wrap, so it helps to know it exists even if you never call it directly. The concat demuxer is fast because it copies streams without re-encoding, but every clip has to share the same codec and dimensions. The concat filter re-encodes, which is slower but forgiving of mismatched inputs. For a recurring format like a weekly highlight compilation, a saved template beats rewriting the payload for every new batch.
Normalize before you join: resolution, frame rate, and aspect ratio
Most failed stitches trace back to one thing: the clips did not match before they were joined. A 1080p shot next to a 720p shot forces the player to scale mid-video, which reads as a quality drop at the cut. Mixed frame rates cause stutter. Different aspect ratios get letterboxed or cropped in ways you did not choose. Normalize first: pick one target resolution and frame rate, scale every clip to it, and decide how off-ratio shots should be cropped so your subject stays in the safe zone. This matters most for vertical 9:16 social formats, where a careless crop pushes a face or a caption off screen. Cutaways and b-roll shots often come from a different camera or a different generation, so they are the clips most likely to need a resolution pass before they sit next to your main footage.
Transitions and audio: make the cuts feel intentional
A hard cut is the default, and for fast-paced social edits it is often the right call. Reach for a crossfade or a wipe when two shots would otherwise clash, or when you want to signal a change in time or place. The mistake is applying one transition everywhere; that flattens the pacing. Audio needs the same care. Join two clips with different loudness and the volume jumps at the seam, so normalize levels across the sequence, and use a short crossfade or duck the music under dialogue where clips meet. A stitching API that only concatenates video will leave these audio seams for you to fix later.
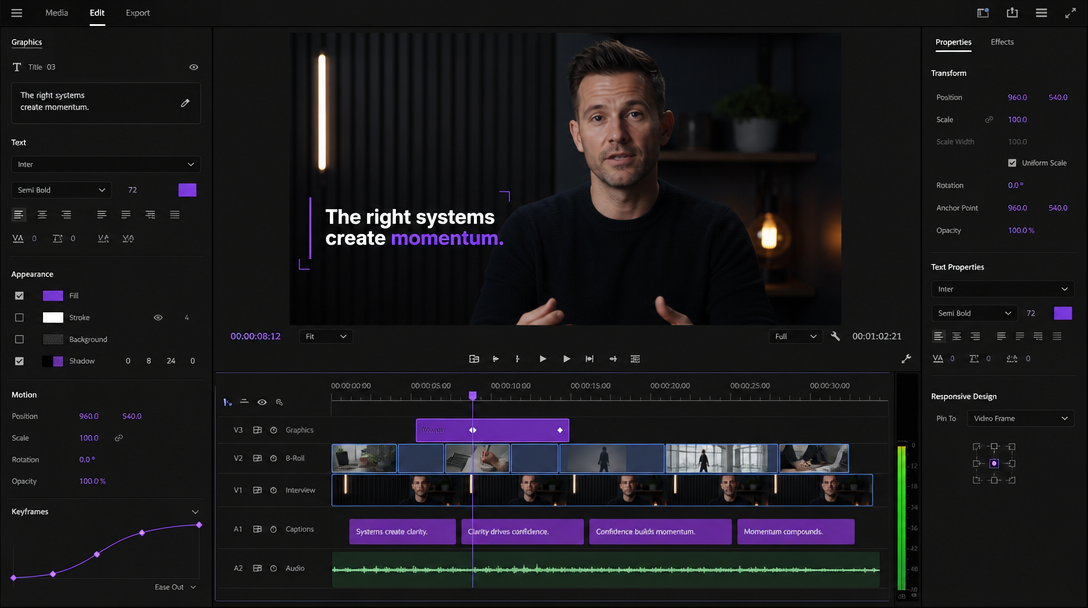
Once the timing is locked, captions are easier to place. Because a line of dialogue often runs across a shot boundary, it helps to add subtitles after the stitch rather than before, so the caption timing matches the final cut instead of the raw clips.
Keeping a continuous look across AI-generated shots
This is the part hosted APIs and FFmpeg guides skip, and it is the hardest one. Two clips can be joined perfectly and still look wrong because their color, lighting, or motion does not match. It is common with AI-generated shots, where each generation drifts in grade and framing even from the same prompt. Concatenation does not fix continuity; it just places the mismatch back to back. A grading pass that pushes every shot toward one shared look, plus consistent motion at the cut points, is what makes a multi-shot sequence read as one piece rather than a stitched-together reel. This is where AI generation and hands-on editing meet: the model gives you the raw shots, and the editing pass gives them a common look.
Where the stitch sits in a full workflow
A stitching call is rarely the whole job; it is one node in a larger pipeline. Upstream, you might generate each shot from a prompt, render a variation for the hook, then stitch only the winners into the final order. Building that chain on a node-based AI canvas lets you wire clip generation directly into the stitch step, so the ordered list of shots is produced and joined in one pass instead of two disconnected tools. That keeps the generate-then-stitch loop in one place while you iterate on which shots make the cut.
Downstream, the rendered file is not the finish line. A stitched MP4 is baked, so changing a single cut means re-rendering the whole thing. Pulling the result into an editable project, where you can overlay a logo or lower third and nudge one clip without touching the rest, keeps the last mile fast. The API gives you speed and repeatability; the timeline gives you the final art direction.
Frequently asked questions
What file format does a stitching API return?
Almost always an MP4 with H.264 video, which plays everywhere and uploads cleanly to social platforms. Some APIs also offer MOV or WebM, and a few return a GIF for short loops. Check whether the service lets you set the output resolution and bitrate, since the default is not always what a given platform wants.
Do I have to match resolution and frame rate before stitching?
For an FFmpeg concat demuxer, yes, the clips must match or the join fails. Hosted APIs and AI auto-stitch tools usually normalize for you, but they make the choice about how to crop and scale, which may not match your intent. Normalizing yourself first gives you control over how off-ratio shots are handled.
Can I stitch clips with different aspect ratios?
Yes, but you decide the tradeoff: letterbox the odd clip with bars, crop it to fill and risk losing edges, or pad it on a blurred background. For vertical formats, crop toward the subject and confirm captions and faces stay inside the safe zone.
Is FFmpeg or a hosted API better?
FFmpeg is free and gives you full control, which suits a self-hosted pipeline or CI job. A hosted API trades that control for zero infrastructure and easy scaling. Pick FFmpeg when cost and control matter most, and a hosted API when you would rather not run render machines.
Can I still edit the video after stitching?
The rendered file is baked, so any change means re-rendering. If you expect to revise cuts, captions, or branding, keep the shots as separate layers and finish in an editable timeline instead of treating the stitched file as final.
Conclusion
A multi shot video stitching API is the fastest way to turn a pile of clips into one continuous video, and it scales in a way manual editing never will. Decide your method by how much control you need and whether your shots already match, normalize before you join, and treat transitions and audio as choices rather than defaults. Then bring the render into a timeline for the last mile, where captions, grading, and pacing turn a technically correct stitch into a video worth watching.
Founder of Motionbox and Gluely. Building tools for creators.