How to Create AI Avatars From Photos: 5 Tools Ranked for Video Work
Turning a portrait into an AI avatar is quick now. Turning that avatar into a video someone watches to the end is the part nobody explains. Here are five photo avatar tools ranked by how much control they give you, and what to do with the clip once it lands on your timeline.
Most guides about photo avatars stop at the moment the avatar appears. That is the easy part. The hard part starts after, when you have a talking clip and you still need captions, cutaways, a hook that survives the first second, and three aspect ratios by Friday. This ranking looks at photo avatar tools the way a video editor does, and it assumes the finished piece gets cut in a browser based motion editor rather than exported once and posted as is.
The list at a glance
- Wireflow AI Avatar Generator: best for building the avatar look itself from a photo or a text description, with variations, before anything moves.
- HeyGen: best for turning one portrait into a talking head clip with matched lip sync.
- Creatify: best for spinning one avatar into many UGC ad variants.
- Captions: best for mobile first shorts where the avatar is filmed style rather than studio style.
- D-ID: best for the fast, cheap photo to talking portrait when you only need a few seconds.
Quick answer:
- A photo avatar is made in two passes: generate the still identity from your photo, then animate that still with a voice track. Tools that skip the first pass give you less control over the face.
- Feed the generator a front facing portrait at 1024px or larger, even lighting, shoulders in frame, no sunglasses, no heavy motion blur. Photo quality decides avatar quality more than the model does.
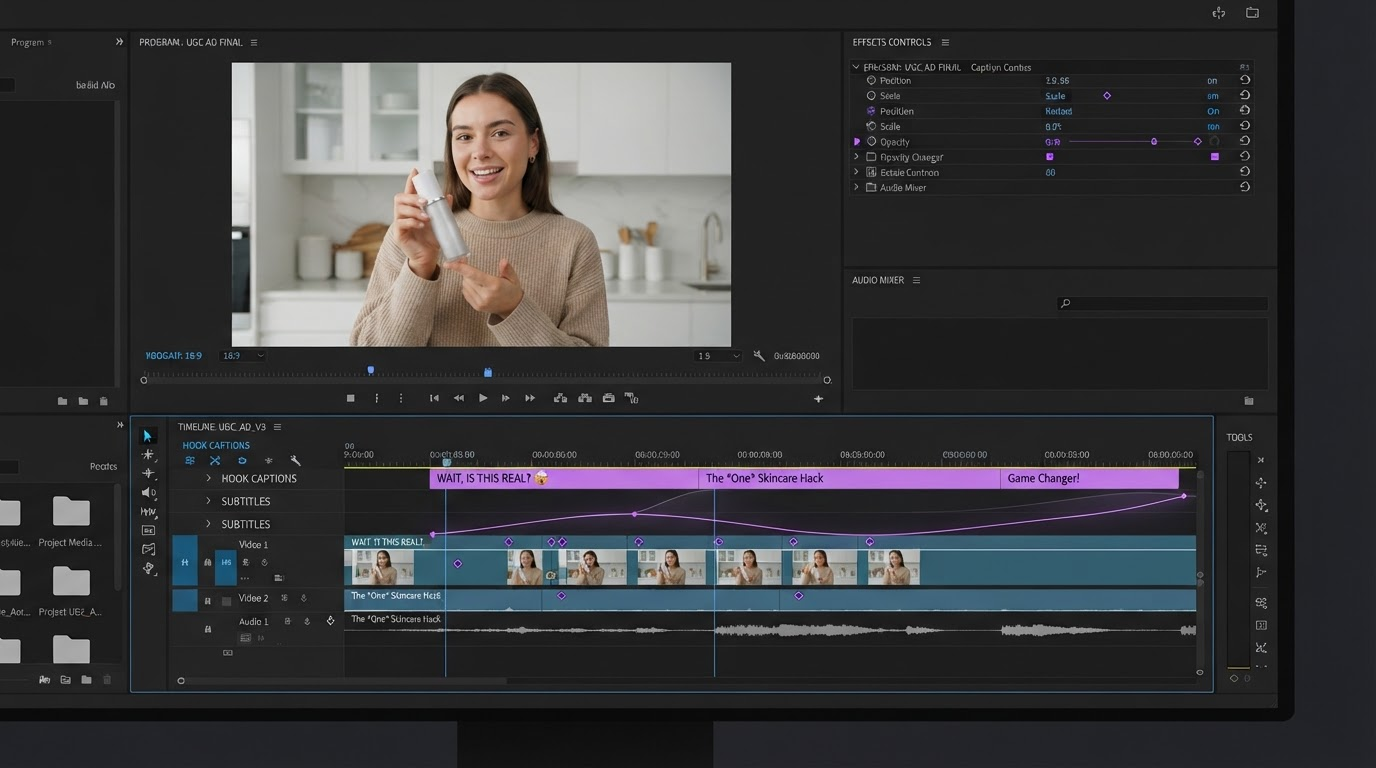
- Avatar clips are raw material, not finished videos. Bring the export into a timeline, add captions and b roll, then version it for 9:16, 1:1, and 16:9.
How this list is ranked
The ranking criterion is control, in this order: how much say you get over the avatar's appearance before it animates, how clean the exported clip is when it lands on a timeline, and how cheaply you can produce a second and third version. Render speed matters less than it looks. A clip that renders in four minutes but arrives with baked captions and a locked aspect ratio costs you more time downstream than one that renders in eight and arrives clean.
1. Wireflow AI Avatar Generator
Wireflow sits one step earlier in the chain than the rest of this list. It takes a photo or a written description and returns avatars, headshots, and stylised characters as images, on a canvas where you pick the model and regenerate variations side by side. That sounds like a smaller job than making a talking video, and it is, but it is the job that decides everything downstream. If the face, wardrobe, and lighting are wrong at the still stage, no amount of lip sync fixes it.
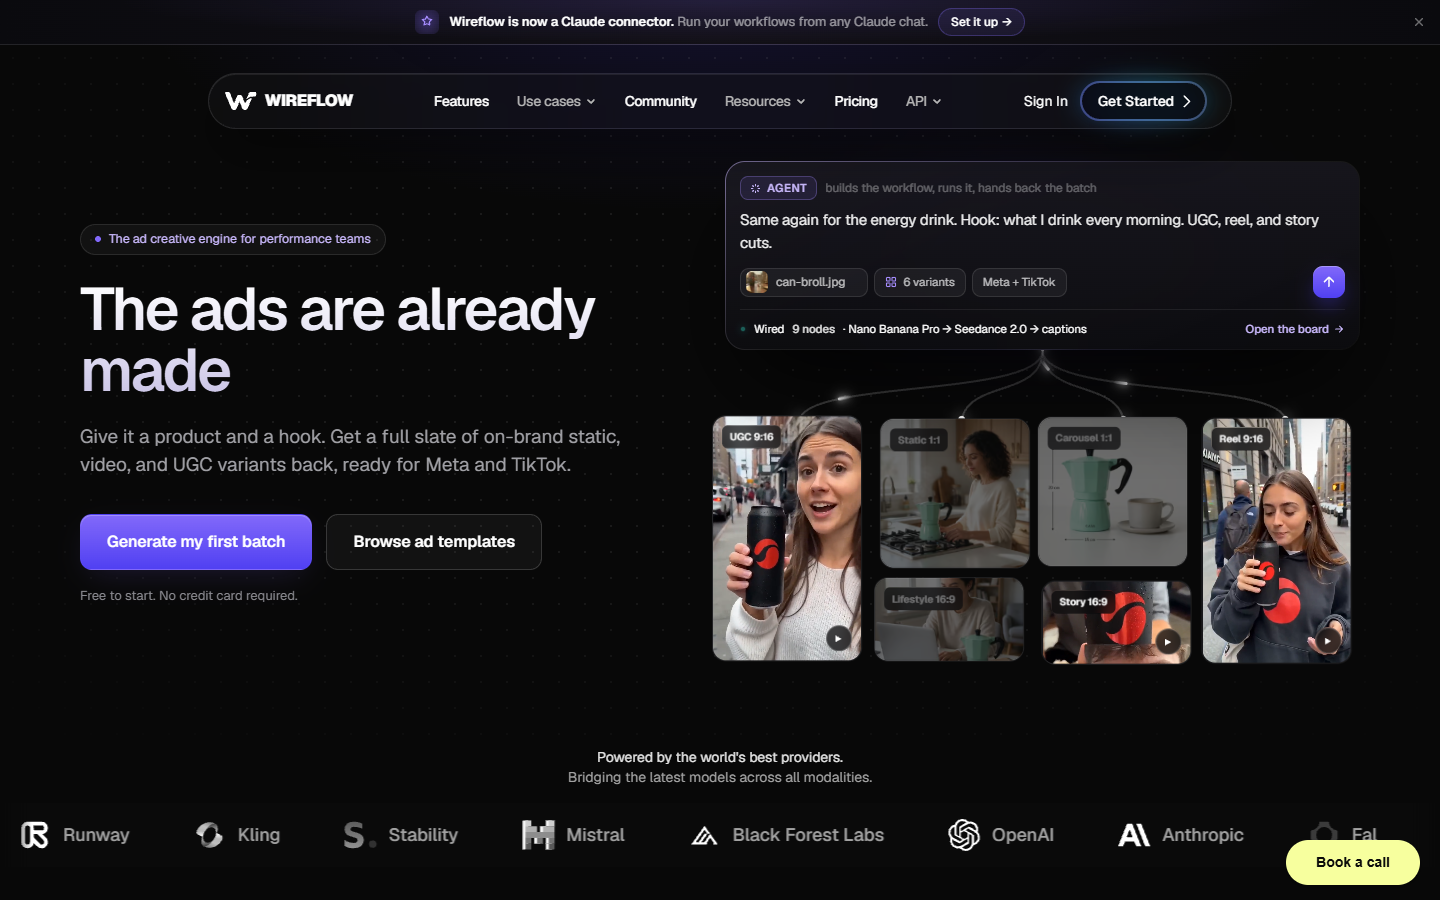
The practical use is a two step chain. Generate five or six avatar stills from the same source photo, choose the one that reads best at thumbnail size, then hand that still to an animation tool as the input portrait. Because the output is an image rather than a rendered clip, you can also use it as a static presenter frame, a channel avatar, or a cutaway card in an edit.
Verdict: best for art directing the avatar before it moves. Not a video tool, so pair it with one of the four below.
2. HeyGen
HeyGen is the default answer for photo to talking head. Upload a high resolution portrait, add a script or an audio file, pick gesture behaviour, and it returns a presenter clip with lip sync and small head movement. Its facial mapping is the most forgiving in this list when the source photo is imperfect, and voice cloning from a short sample is built in.
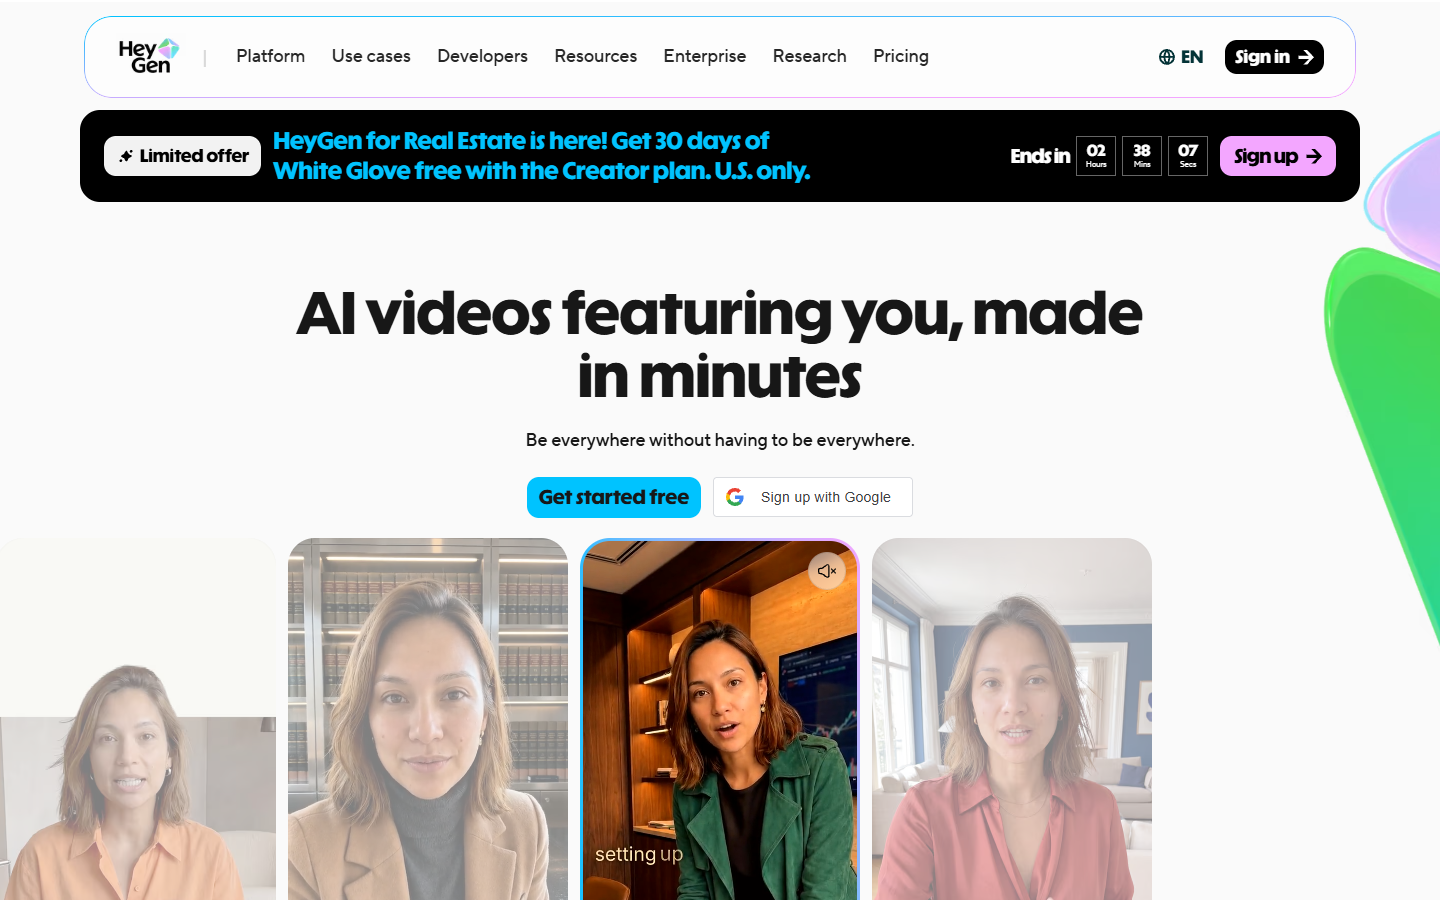
Where it costs you time is everything after the render. The output is a finished MP4 of a person talking, usually at 16:9, and the built in caption styles are limited. Editors typically export clean, no captions burned in, and rebuild the caption track properly with an automatic subtitle tool so the type matches brand fonts and the reading pace matches the cut.
Verdict: best overall photo to talking head quality. Treat its export as a source clip, not a deliverable.
3. Creatify
Creatify is built for paid social rather than corporate presenting. It leans on ad structure: hook, body, call to action, with avatars that read as real people holding a product. Its useful trick is volume. One script and one avatar becomes a batch of variants with different hooks and different openings, which is what a media buyer actually needs to test.
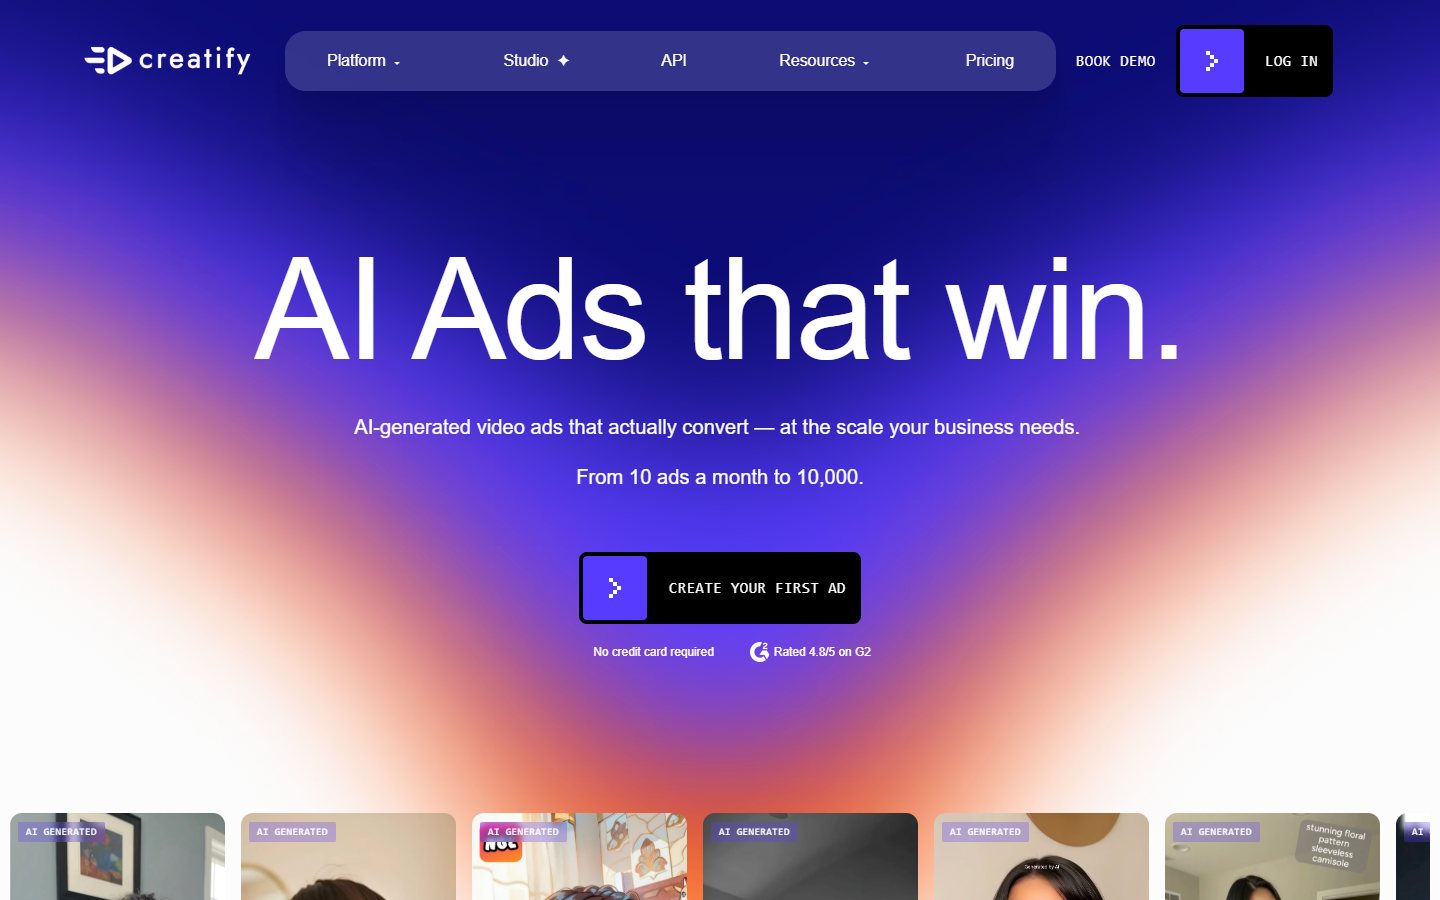
Render times sit around five to ten minutes per variant, and you choose the aspect ratio up front (9:16 for Reels and Shorts, 1:1 for feed, 16:9 for pre roll). If you are producing ads at any scale, cut the avatar hook against real footage of the thing you are selling, which is a job for a product video editor rather than the ad generator itself.
Verdict: best for producing many ad variants from one photo avatar. Weaker when you want a single, carefully art directed piece.
4. Captions
Captions makes avatars that look shot on a phone rather than shot in a studio, which is exactly right for TikTok and Reels where studio polish reads as an ad. You upload a photo, pick a look, and it handles wardrobe and background changes without a reshoot.
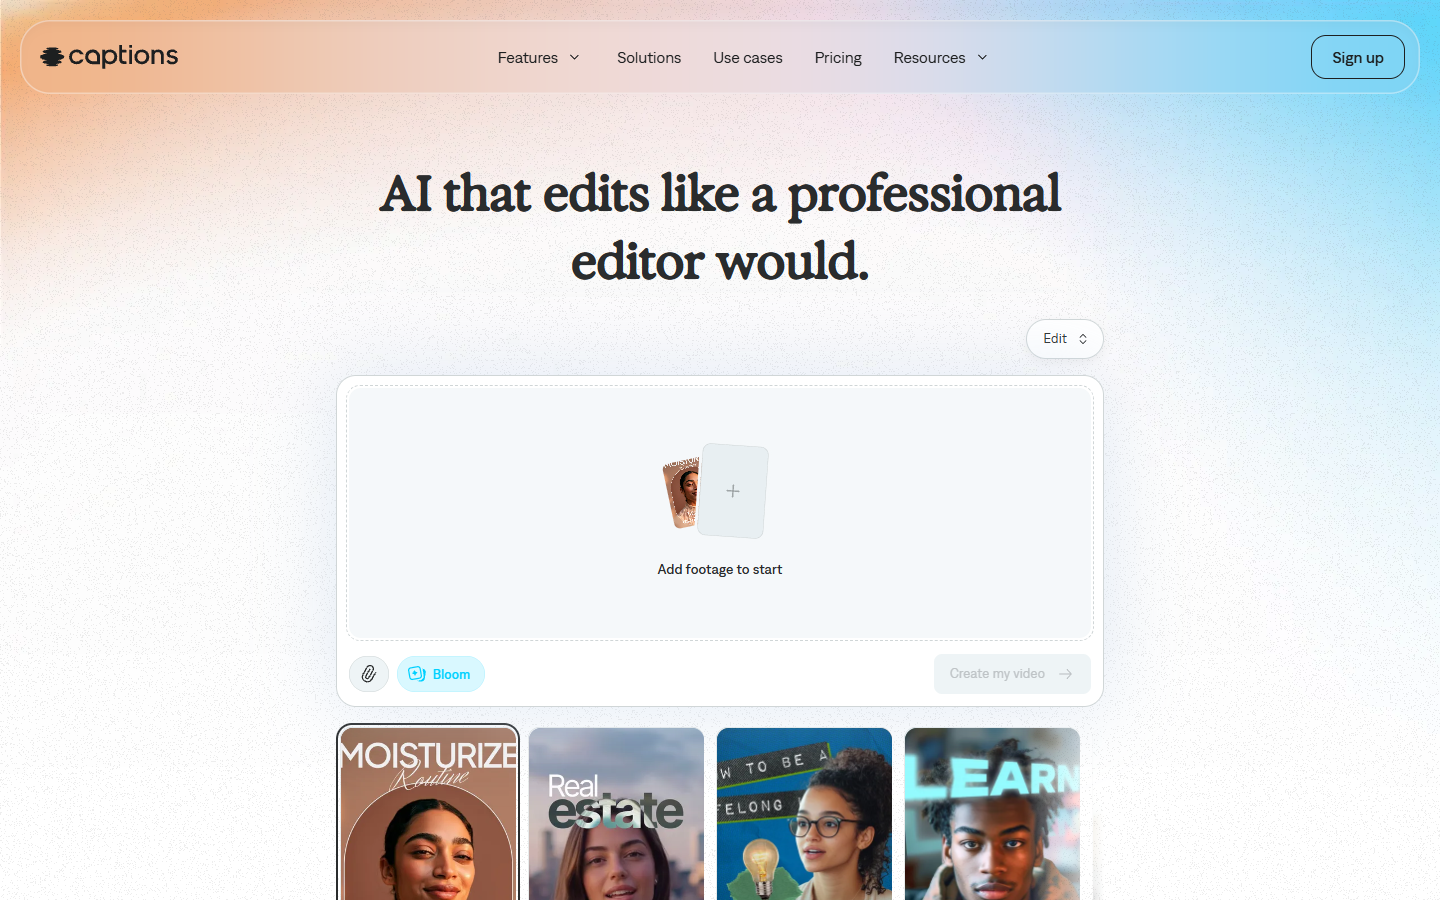
The tradeoff is control. The published guidance gives no photo resolution requirement, no render time, and no stated limits, so you are working by feel. It is also mobile first by design, which is fine until you need the same avatar in a 16:9 YouTube edit. When that happens, export the vertical clip and reframe it inside a vertical video editor rather than regenerating.
Verdict: best for native looking short form. Least predictable if you need exact specs.
5. D-ID
D-ID is the oldest reflex in this category: drop in a portrait, drop in audio, get a talking picture. It animates a single still rather than building a full avatar model, so the motion range is small and the shoulders barely move. For a ten second explainer face in the corner of a screen recording, that is enough.
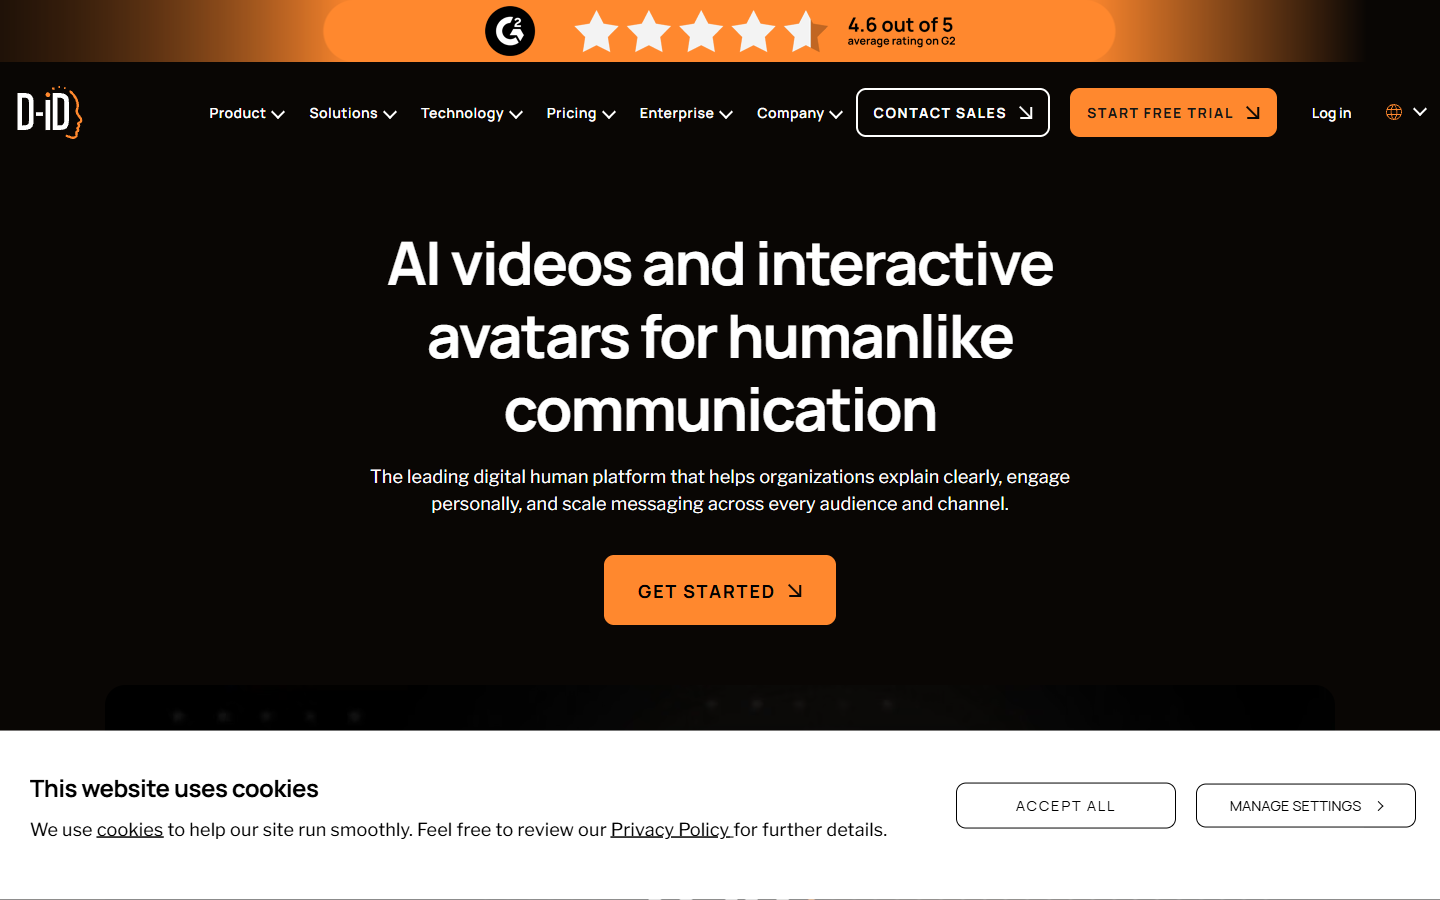
Because the output is tightly cropped around the head, it composites well. Put the talking portrait on a layer above your main footage, mask it into a circle, and you have a presenter overlay. If the background comes back flat rather than transparent, a green screen removal pass gets you a clean key.
Verdict: best for short presenter overlays. Not the choice for a two minute piece to camera.
What your source photo actually needs
Every tool in this list is limited by the same input, and photo prep is where most bad avatars come from. Shoot or pick a portrait that meets these:
- Front facing, eyes to camera, head and shoulders in frame with a little room above the head.
- Even, soft light across the face. Hard side light bakes a shadow into the avatar that you cannot remove later.
- 1024px on the short edge at minimum. Upscaled phone screenshots produce mushy skin texture that shows on any screen bigger than a phone.
- Plain or simple background. Busy backgrounds bleed into the generated result and make keying harder.
- No sunglasses, no hands near the face, no heavy compression artefacts.
One habit worth keeping: save the source photo and the exact prompt or settings with the project. Six weeks later you will need the same avatar for a follow up video, and matching it from memory is harder than rerunning what worked.
Cutting the avatar into a real edit
An avatar clip on its own holds attention for roughly the first three seconds. What keeps a viewer past that is the edit around it. The workflow that holds up: bring the avatar export in as your base layer, cut the dead air at the top so the first word lands immediately, then layer captions, b roll, and product shots over the talking track. Keyframe the cutaways so they land on the stressed words instead of arriving at random.
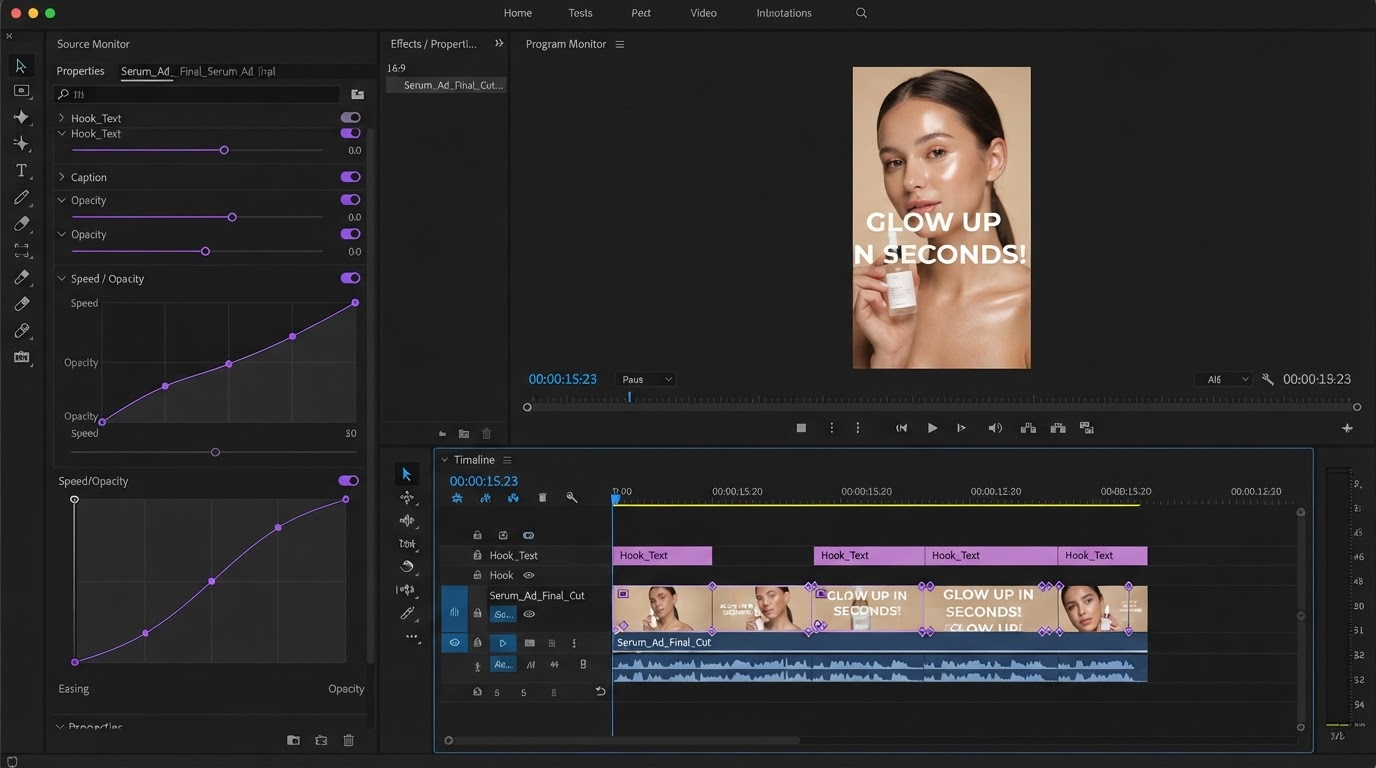
Two production notes save the most time. First, keep the avatar clip and the caption track on separate layers so you can restyle type without re rendering the avatar. Second, build the 9:16 version first and derive the square and landscape crops from it, since the vertical framing is the one that constrains where the head can sit. Saved caption presets make the second and third versions close to free.
Frequently asked questions
Can I make an AI avatar from one photo?
Yes. Every tool listed here works from a single portrait. More photos help with likeness in tools that train a custom avatar, but the single photo path is standard now, and the limiting factor is photo quality rather than photo count.
Do I need a separate tool to design the avatar before animating it?
Not always, though it helps when the look matters. If you want to try several faces, outfits, or styles before committing, a generator that will turn a photo or a written description into avatar variations you can compare side by side is worth the extra step, since animation tools give you very little control over appearance once the render starts.
Why does my avatar look uncanny?
Usually the source photo, not the model. Hard shadows, a slight head turn, or low resolution force the generator to invent facial geometry. Reshoot flat and front facing before blaming the tool. If the mouth is the problem, the audio is often the cause: heavily compressed voice tracks produce mushy lip sync.
Can I use a photo avatar of myself in paid ads?
Yours, yes. Someone else's likeness needs written permission, and the major ad platforms enforce this. Most avatar tools also require a consent recording before they will train an avatar on a real person's face.
What resolution should I export at?
Export the avatar clip at the highest resolution the tool offers, then downscale in the edit. Exporting small and upscaling later reintroduces the exact softness you were trying to avoid.
Where to go next
Pick the tool by the shape of the job rather than by the demo reel. One careful piece to camera means art direct the still first, then animate. A batch of ad tests means generate variants and accept less control per clip. A ten second overlay means the fastest talking portrait you can get. In all three cases the avatar is the raw footage, and the edit is where it becomes a video worth watching, so open a video project you can build on and treat the avatar clip as your first layer rather than your last step.
Founder of Motionbox and Gluely. Building tools for creators.